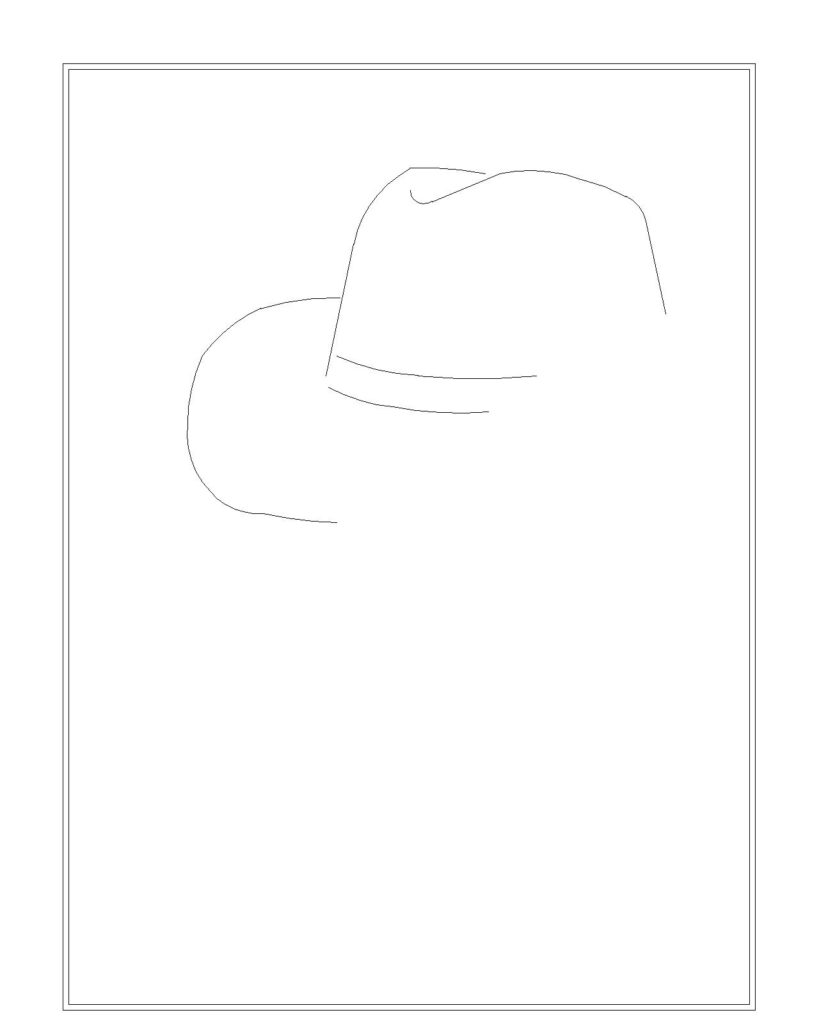
Step 1
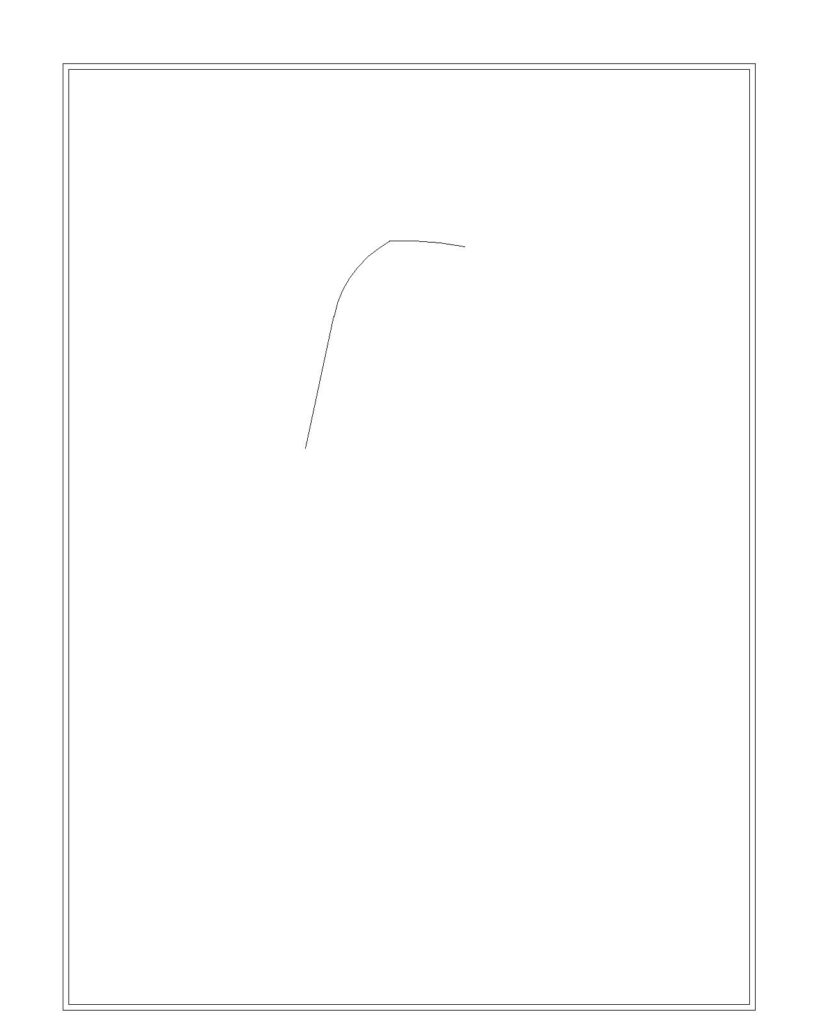
We will begin at the top and work our way down to the bottom when drawing a fashionable cowboy hat. The first thing we’ll be drawing is the crown, which is the highest point on a cowboy hat.
Draw the line that forms the crown’s right edge. The outline’s structure need to resemble a downward slope, as the figure depicts.
Step 2
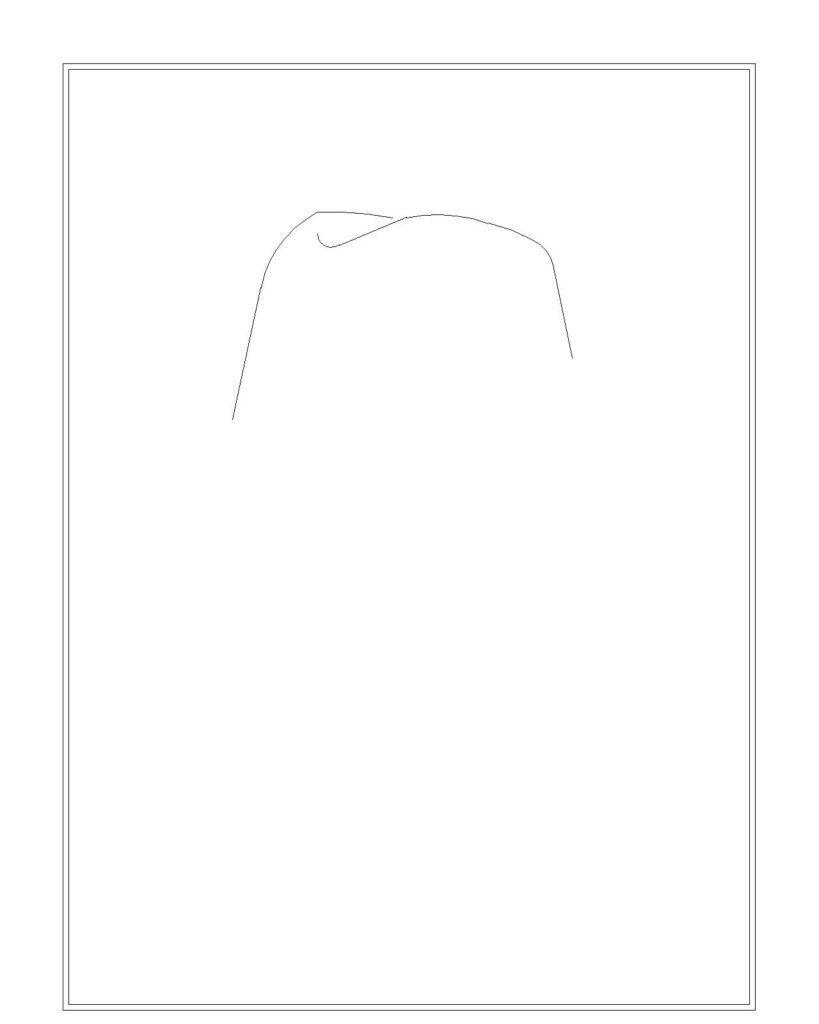
Draw another line with a downward slope just next to the first one we created. Ensure that there is a crease formed by the lines that overlap at the top of the crown.
This contributes to the genuine appearance of your cowboy hat.
Step 3
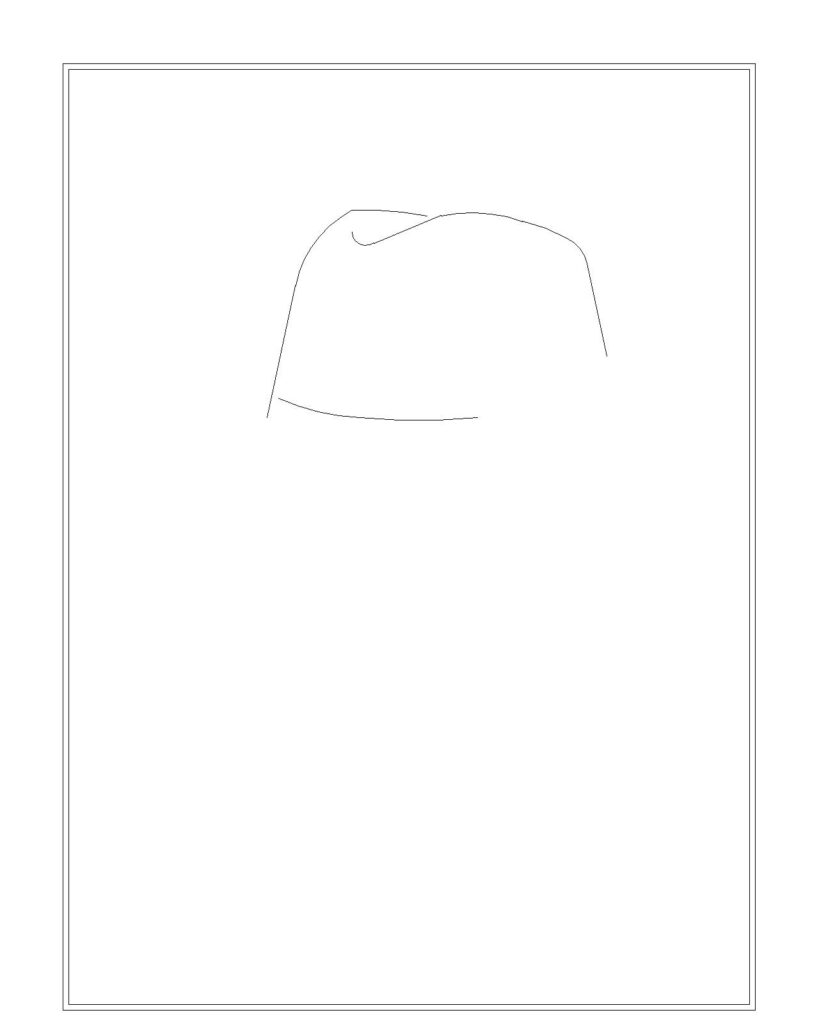
At the bottom, link the two ends of the lines we made in the preceding steps with a curved horizontal line. This completes the outline and closes off the crown figure.
Once you’ve completed this step, your cowboy hat crown should be finished.
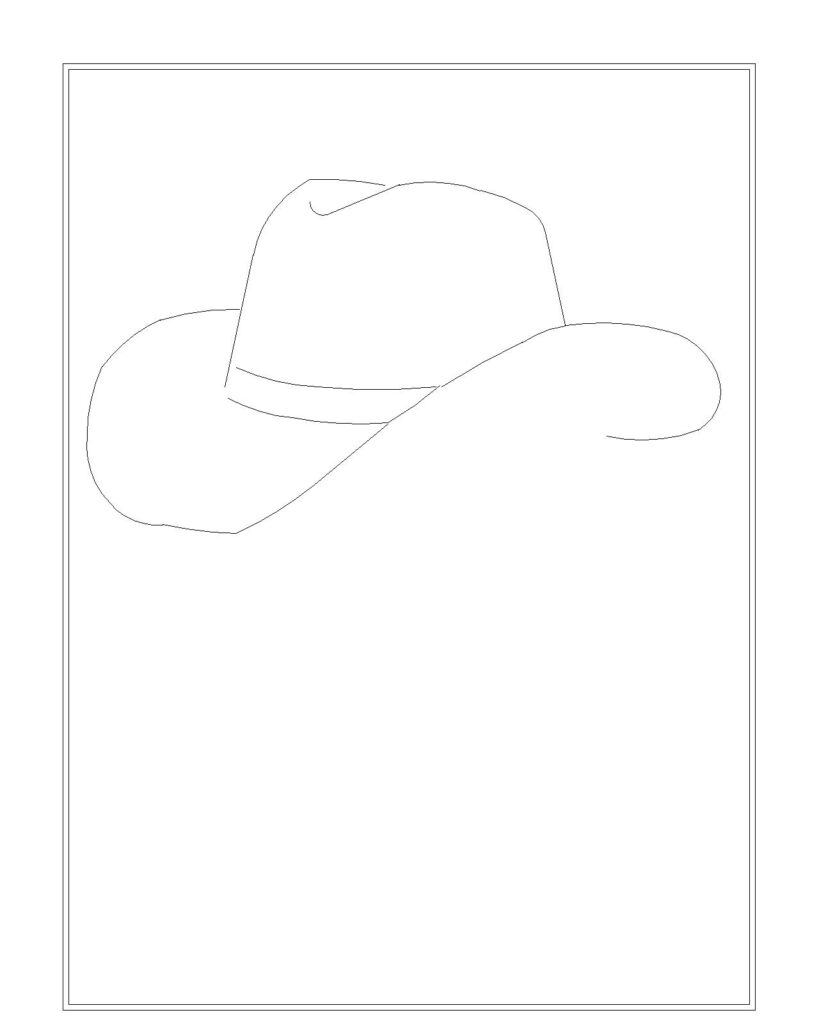
Step 4
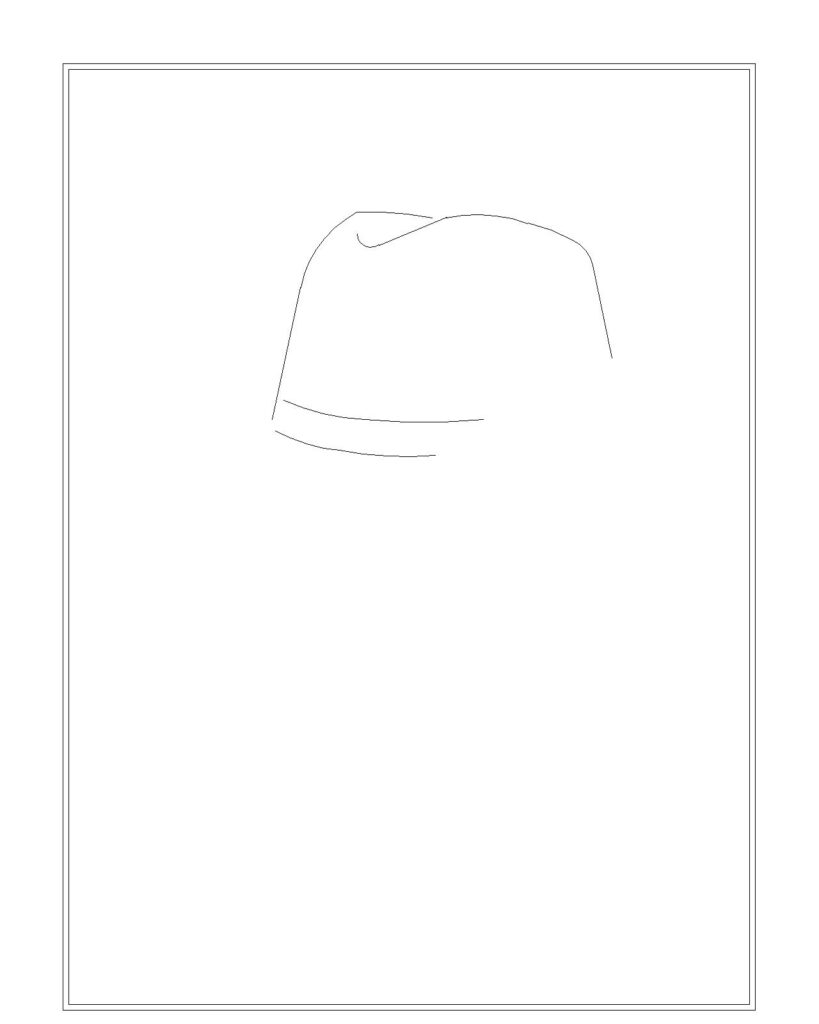
Following the outline’s natural curve, draw a slightly curved horizontal line at the base of the crown.
This will be the ring or cloth that encircles the whole crown.
Step 5
The portion of the cowboy hat that covers the eye will now be the focus of this stage. When sketching the brim, bear in mind that cowboy hats usually have wide brims.
Draw a curve that extends rightward from the left side of the crown. If the line is drawn correctly, it should resemble the illustration’s semicircle shape.
Step 6
Draw an upward diagonal line to extend the curving line we drew in the previous step to the opposite side of the crown, starting from the end point.
Step 7
Add a Roll on the Surface of the Brim
Complete the cowboy hat brim by drawing a downward curve that returns to the left side of the outline.
This line’s end point should overlap the brim to produce a fold that looks natural.
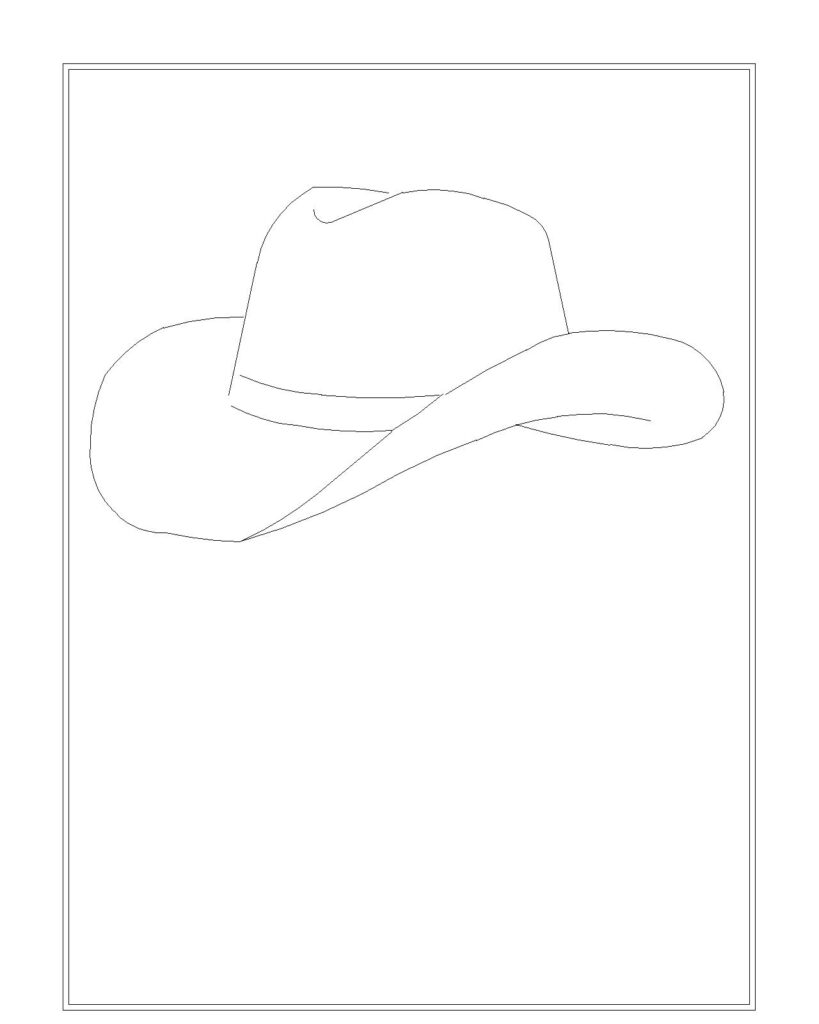
Step 8
Draw a few curved lines in the vicinity of the brim’s edge, adhering to its contour. The material of the cowboy hat gains texture from these lines.
Take care not to apply too much pressure with your pencil when creating the textures. Remember that the stroke will appear more realistic the lighter and thinner it is!
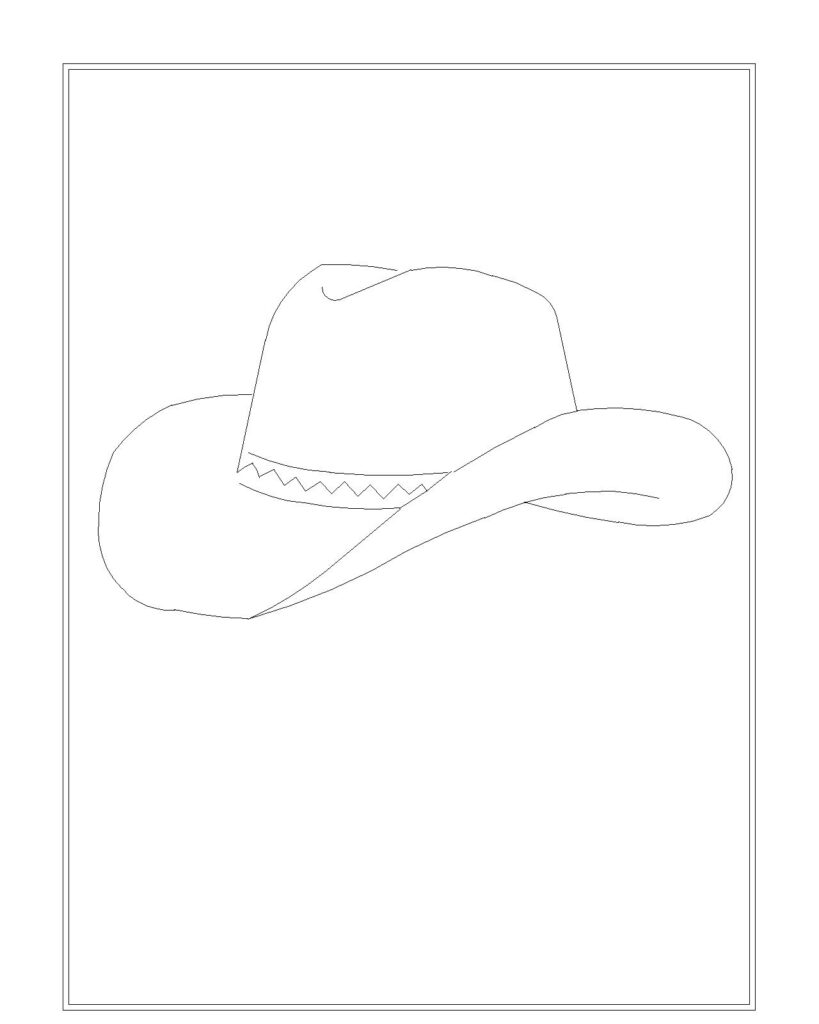
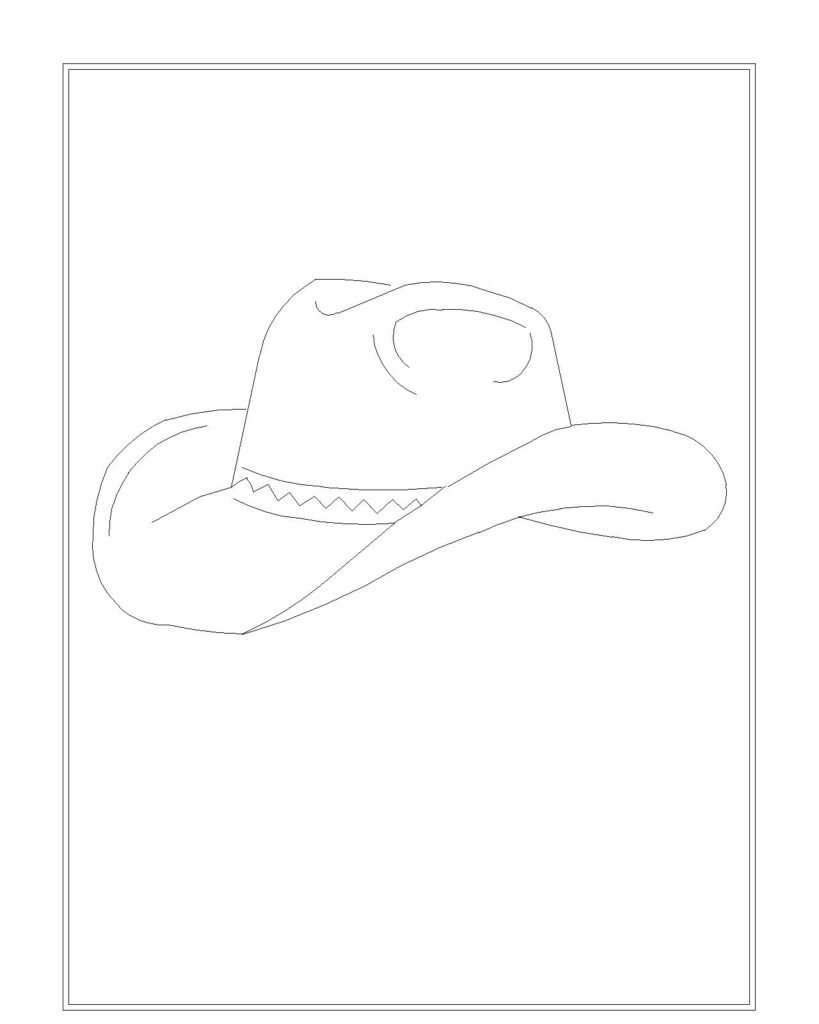
Step 9
To embellish the cowboy hat, draw several circles on the hatband.
We kept the cowboy hat’s surface straightforward, as the figure shows. But feel free to accessorize the cowboy hat however you choose! You can also add diamonds or sketch different motifs to be imprinted on the material.
Consider that you are creating a custom cowboy hat for yourself. Keep in mind that your ingenuity and imagination are endless!
Step 10
After we’ve successfully sketched a cowboy hat, it’s time for the most thrilling step: selecting colors and adding color to your drawing!
There are cowboy hats in every hue. This implies that you are allowed to choose colors and mix and match to create a custom palette. If you’d like, you can even use your chosen colors to paint the cowboy hat! Why not also try experimenting with other coloring supplies while you’re at it?
